Want to enjoy your favorite tunes while working on your tractor? This comprehensive guide provides a step-by-step approach to installing a radio fender mount, ensuring a smooth and successful installation, even for beginners. We'll cover everything from gathering the necessary tools and materials to troubleshooting common problems, all while emphasizing safety. For more tractor radio options, check out this helpful resource.
Getting Started: Tools and Materials Checklist
Before you begin, ensure you have all the necessary tools and materials. This will streamline the process and prevent interruptions. Having everything prepared beforehand significantly increases the efficiency and reduces the risk of errors. Did you know that a well-organized workspace can improve efficiency by up to 20%?
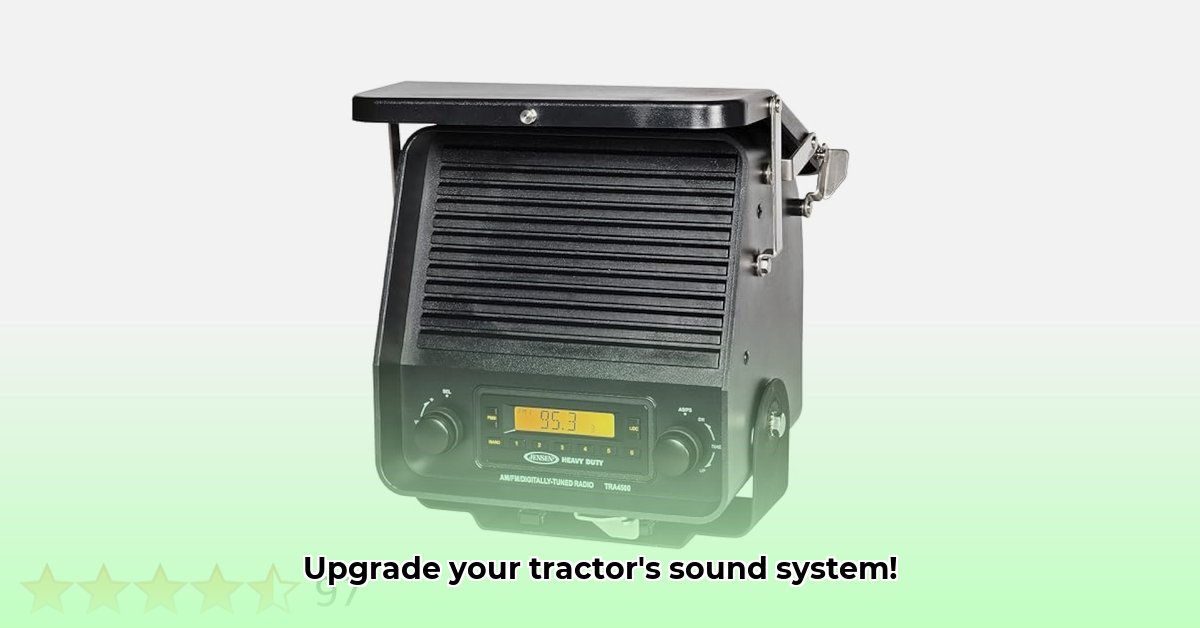
- Tractor Radio Fender Mount Kit: (The specific mount designed for your tractor and radio model. Double-check compatibility!)
- Phillips Head Screwdriver(s): (Various sizes, to match the screws in your kit)
- Flathead Screwdriver(s): (Various sizes, for potential additional fasteners)
- Wrench(es): (Appropriate size(s) to match the bolts included with the mount)
- Drill (Optional): (With appropriate drill bits, if pre-drilled holes aren’t provided)
- Drill Bits (If needed): (Matching the size of your mounting bolts)
- Measuring Tape: (Accuracy is crucial for proper placement)
- Wire Strippers/Crimpers: (For secure electrical connections)
- Zip Ties (Optional): (To neatly manage excess wiring)
- Safety Glasses: (Essential eye protection)
- Work Gloves: (Hand protection against sharp edges and potential abrasions)
- Owner's Manual: (For your tractor and radio, containing important specifications and safety information)
Step-by-Step Installation Instructions
Follow these steps carefully for a successful installation. Remember, accuracy and patience are key for a secure and functional mount. Have you considered the long-term benefits of a properly installed system? A secure mount prevents vibration damage to the radio and ensures clear audio reception.
Strategic Placement: Carefully measure and determine the optimal location on your tractor's fender. Consider factors like easy reach, obstruction-free positioning, and minimizing sun glare. A poorly placed mount can compromise both functionality and aesthetics.
Pre-Drilling (If Necessary): If your kit requires drilling new mounting holes, carefully mark the locations and use a pilot hole to prevent cracking the fender. A pilot hole is a small initial hole drilled to guide the larger bit and reduce the risk of splitting the material.
Mounting Bracket Installation: Securely attach the mount bracket to the fender using the supplied hardware. Ensure all bolts are tightened evenly to prevent warping. Tightening bolts sequentially and evenly aids in preventing stress on the attachment points.
Radio Installation: Carefully place the radio into the mount, ensuring a snug and secure fit. Double-check that all screws or fasteners are tightened appropriately. A loose radio can lead to vibration, damage, and poor audio.
Wiring Connections: Connect the power and antenna wires to the radio, strictly following the manufacturer's instructions. Clean connections are crucial for optimal performance and reliability. A poorly connected antenna, for example, will lead to poor signal quality.
Wire Management: Use zip ties or electrical tape to neatly organize and secure all excess wiring. This enhances aesthetics and prevents future tangles or shorts. Neat wiring also reduces the risk of damage to wiring and components.
Final Check: Power on the radio and verify its functionality. Adjust the antenna for optimal reception, if necessary. Always visually inspect everything before operating any new component.
Troubleshooting Common Problems
Despite careful installation, some issues might arise. Here are solutions for common problems:
Poor Reception: Check antenna connections, obstructions, and the ground connection. A poor ground connection can significantly impair signal quality.
Radio Falling Off: Re-tighten all mounting hardware. Consider additional support brackets or adhesive if needed. This will prevent future detachment.
Wiring Issues: Inspect electrical connections carefully. Consult a qualified technician if you are unable to diagnose and resolve the problem yourself. A faulty connection can cause power fluctuations or complete malfunction.
Safety Precautions: Prioritizing Your Well-being
Safety should always be the top priority. Always disconnect your tractor's battery before working with electrical connections. Remember to wear safety glasses and work gloves throughout the installation process. Take your time and work methodically to avoid mistakes and injuries. A rushed job often leads to careless errors and potential hazardous consequences.
Implementing these steps ensures a successful and safe installation. Enjoy your in-tractor entertainment!